

CNC Milling
Specifications & Constraints

As with any machinery, there are certain limitations on the size, angles, curves and contours that we are able to achieve.
Sheet Metal:
The maximum size sheet metal parts we are able to mill in a single setup in our 5-Axis Machinery is 42" x 24" x 20" (1066.8mm x 609.6mm x 508mm).
For our 3-Axis Machining, we can accommodate up to 25.75" x 15.75" (654mm x 400mm).
Bar Stock:
Our bar stock ranges from 10-20 feet in length that we can cut to size. The machine used will dictate the size constraint for bar stock.
For 3-Axis, the maximum length of bar stock in a single setup is 24" (609.60mm).
5-Axis mills can accommodate a maximum length of bar stock 42" (1066.8mm).
The table below outlines the tolerance level associated with each level of precision.
X is the Tolerance, where conventional dimensioning and tolerancing would be displayed as Nominal Dimension ± X
Milling & Turning: Standard & Geometric Tolerances
| Standard Precision | Premium Precision | Ultra Precision |
|---|---|---|
| X ≥ ±0.005”(0.13mm) | ±0.005”(0.13mm) > X > ±0.001”(0.025mm) | ±0.001”(0.025mm) ≥ X ≥ ±0.0001”(0.0025mm) |
X=Tolerance
Nominal Dimension ± X
Corner Radius:
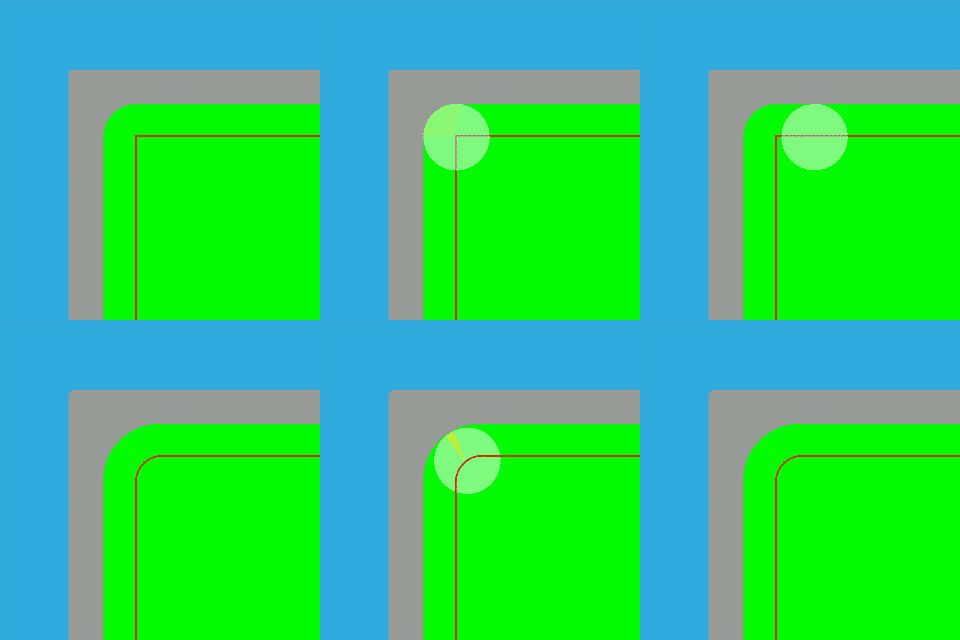
When CNC machining internal features (pockets), corner radii are critical to obtain a quality surface finish. This is because the smaller the corner radii is relative to the tool diameter, the more the tool engages with the corner radius when the part is being machined. This in turn will increase cutting forces and create poor finish.
Corner radii are also important in reducing machining cost, as larger tools that produce larger radii can run faster.

There are also limitations with depth, as smaller diameter tools can often only be used for shallower features. This creates an inverse relationship between corner radii and feature depth.
In short, using the largest radii possible for your design will both increase surface finish quality, and reduce machining costs. Essentially: Large Radii = Larger Tools = Faster Cuts = Less Time = Lower Cost
The chart below shows for each range of depth the minimum values we recommend for corners of a particular depth range.
Recommended minimum radius means we have processes for these values that work well.
Minimum radius is the theoretical minimum we can achieve, but below the recommended, which means cost will increase and surface finish quality can start to suffer.
We always recommend keeping radii as large as possible.
| Feature Depth | Minimum Radius | Recommended Minimum Radius |
|---|---|---|
| 0.470" (11.938mm) | 0.016" (0.406mm) | 0.031" (0.787mm) |
| 0.750" (19.05mm) | 0.032" (0.813mm) | 0.063" (1.6mm) |
| 2.000" (50.8mm) | 0.063" (1.6mm) | 0.094" (2.388mm) |
| 3.000" (76.2mm) | 0.125" (3.175mm) | 0.150" (3.81mm) |
| 3.250" (82.55mm) | 0.250" (6.35mm) | 0.275" (6.985mm) |
| 4.250" (107.95mm) | 0.300" (7.62mm) | 0.500” (12.7mm) |
We can sometimes accommodate even smaller corner radii. However, you will encounter depth limitations, material removal rates and increases in tool breakage rates, thus raising the cost of the part. Email info@protocase.com to discuss your specific needs.


